Silvercrest SEC 60 A1 Manual do Utilizador
Consulte online ou descarregue Manual do Utilizador para Cozinha Silvercrest SEC 60 A1. Silvercrest SEC 60 A1 User Manual Manual do Utilizador
- Página / 38
- Índice
- MARCADORES
- ID: SEC 60 A1_12_V1.0 2
- Vista general 4
- 1. Indicaciones de 5
- Peligro de lesión 6
- ADVERTENCIA sobre daños 6
- 2. Volumen de entrega 7
- 3. Puesta en marcha 7
- 4. Alimentación de 7
- 5. Manejo 7
- 6. Limpieza 8
- 7. Conservación 8
- 8. Eliminación 8
- 9. Solución de problemas 9
- 10. Datos técnicos 9
- 11. Garantía 9
- Panoramica 10
- 1. Indicazioni di sicurezza 11
- PERICOLO 12
- di infortunio 12
- AVVISO di danni materiali 12
- 2. Contenuto 13
- 3. Messa in funzione 13
- 4. Alimentazione elettrica 13
- 5. Comando 13
- 6. Pulizia 14
- 7. Conservazione 14
- 8. Smaltimento 14
- 9. Soluzioni di problemi 15
- 10. Dati tecnici 15
- 11. Garanzia 15
- 1. Instruções de segurança 17
- Perigo de lesões 18
- AVISO sobre danos materiais 18
- 6. Limpeza 20
- 7. Arrecadação 20
- 8. Eliminação 20
- 9. Solução de problemas 21
- 10. Dados técnicos 21
- 11. Garantia 21
- Overview 22
- 1. Safety Instructions 23
- RISK of Injury 24
- WARNING about material damage 24
- 2. Included in Delivery 25
- 3. Start-up 25
- 4. Power supply 25
- 5. Operation 25
- 6. Cleaning 26
- 7. Storage 26
- 8. Disposal 26
- 9. Troubleshooting 27
- 10. Technical Data 27
- 11. Warranty 27
- Übersicht 28
- 1. Sicherheitshinweise 29
- GEFAHR von Verletzungen 30
- WARNUNG vor Sachschäden 30
- 2. Lieferumfang 31
- 3. Inbetriebnahme 31
- 4. Stromversorgung 31
- 5. Bedienung 32
- 6. Reinigen 32
- 7. Aufbewahren 33
- 8. Entsorgen 33
- 9. Problemlösungen 33
- 10. Technische Daten 34
- 11. Garantie 34
- ,$1 38
- +R\HU+DQGHO*PE+ 38
- .¾KQHK¸IH 38
- '+DPEXUJ 38
- 6(&$B Ɇ,$1 38
Resumo do Conteúdo
7ULWXUDGRUHO«FWULFRGHKLHOR6(&$7ULWDJKLDFFLRHOHWWULFR6(&$7ULWXUDGRUHO«FWULFRGHKLHOR,QVWUXFFLRQHVGHVHUYLFLR7ULWDJKLDFFLR
8ITIndice1. Indicazioni di sicurezza ...92. Contenuto ...
9IT1. Indicazioni di sicurezza• Leggere attentamente le presenti istru-zioni per l'uso prima di mettere in fun-zione l'apparecchio per la p
10 ITben accessibili e la cui tensione corri-sponde alle indicazioni riportate sulla targhetta del tipo. La presa di rete deve essere ben accessibile
11ITsono rivestiti con una varietà di vernici e materiali plastici e trattati con diversi prodotti di manutenzione, non è escluso che alcune di quest
12 IT4. Premete la leva per la valvola del vano di riempimento 8 all'indietro e così il cubetto di ghiaccio cade nel macinatoio.5. Quando il cube
13IT9. Soluzioni di problemiSe l'apparecchio non dovesse più funzio-nare come desiderato, controllate prima la lista di controllo. Forse si trat
14 PTIndice1. Instruções de segurança ...152. Volume de fornecimento
15PT1. Instruções de segurança• Leia atentamente este manual de ins-truções antes da primeira colocação em funcionamento e siga impreterivel-mente as
16 PT• O aparelho não está completamente cortado da corrente eléctrica mesmo que esteja desligado. Para o cortar da corrente completamente, retire a f
17PTmóveis são cobertos com uma varie-dade de vernizes e de plásticos e são tratados com diferentes produtos de conservação, não é possível excluir t
Español ... 2Italiano...
18 PT2. Retire a tampa 1.3. Deite um cubo de gelo na tremonha 2.4. Empurre o manípulo de actuação da tremonha 8 para trás e o cubo de gelo cai no meca
19PT9. Solução de problemas Se o seu aparelho um dia não funcionar como devia ser, confira esta lista de verifi-cação. Talvez a causa seja um problem
20 GBContents1. Safety Instructions ...212. Included in De
21GB1. Safety Instructions• Before using the appliance, carefully read through these operating instruc-tions and ensure you comply with the safety in
22 GBdevice to have it completely discon-nected.• When you set up the device, ensure that the power cord is never jammed or squashed.• Ensure that chi
23GB2. Included in Delivery1 Ice crusher1 Lid 11 Collecting container 61 Ice scoop 51 Operating instructions 3. Start-upDANGER! The knives of the cru
24 GB6. CleaningDANGER! Unplug the power plug from the socket before you clean the ice crusher.• The casing of the ice crusher must not be immersed in
25GB9. Troubleshooting Should your device ever not run as desired, please go through this checklist first. May-be it is only a small problem that you
26 DEInhalt1. Sicherheitshinweise ...272. Lieferumfang ...
27DE1. Sicherheitshinweise• Lesen Sie vor der ersten Inbetrieb-nahme diese Bedienungsanleitung gründlich durch und befolgen Sie vor allen Dingen die
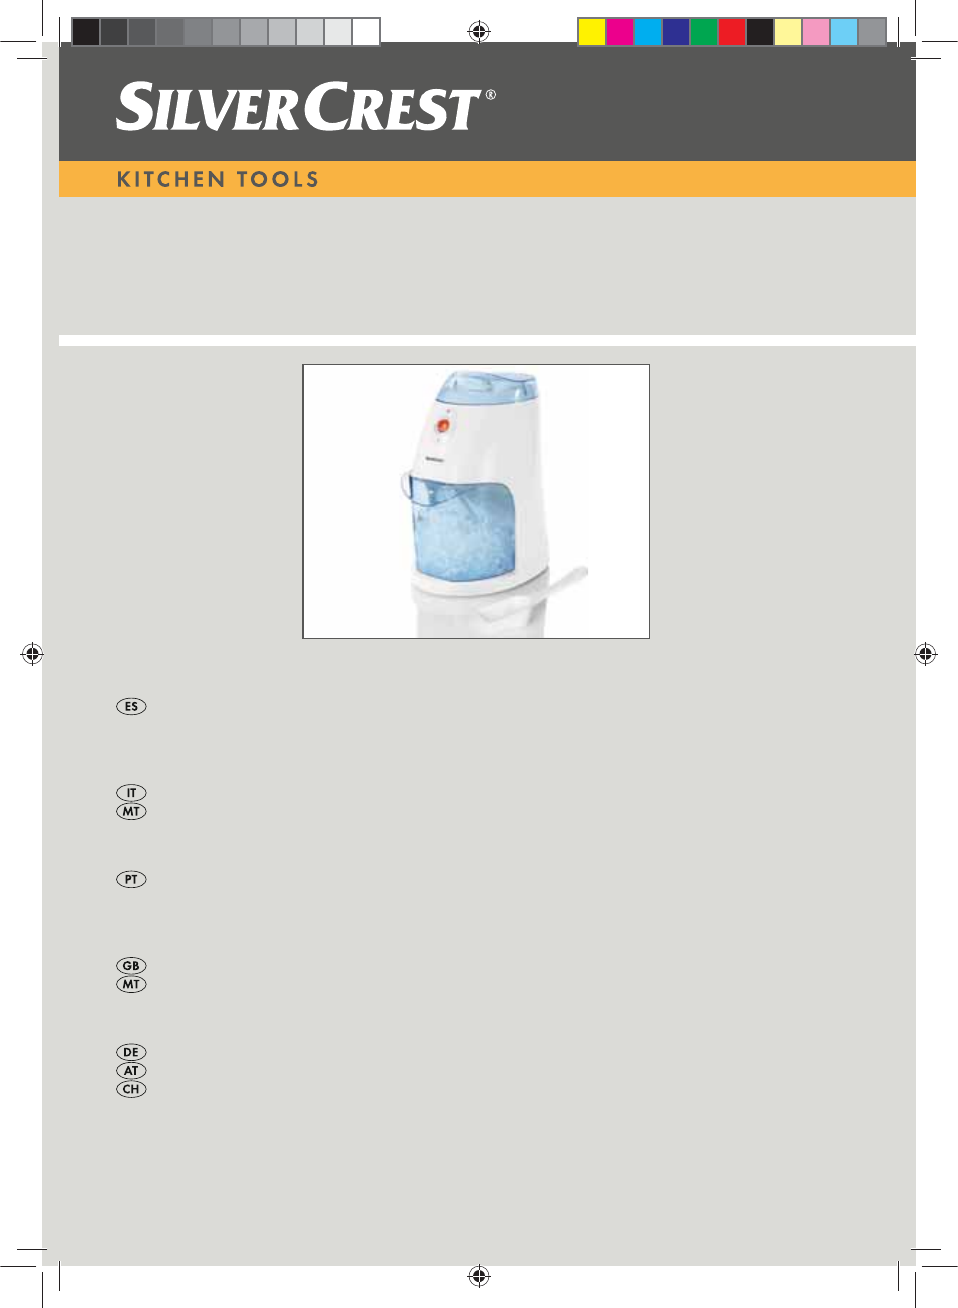
Vista general / Panoramica / Visão geral / Overview / Übersicht78612534__RP_71511_B5.book Seite 2 Donnerstag, 1. Dezember 2011 7:39 19
28 DEauch nach dem Anschließen weiterhin gut zugänglich sein.• Achten Sie darauf, dass das Netzkabel nicht durch scharfe Kanten oder heiße Stellen bes
29DEDie Reste können nicht aus dem Mahl-werk entfernt werden.• Das Gerät ist mit rutschfesten Silikon-füßen ausgestattet. Da Möbel mit einer Vielfalt
30 DE5. BedienungGEFAHR! Greifen Sie niemals durch den Einfüllschacht in das laufende Gerät. Halten Sie keine Gegenstände in den Einfüll-schacht. Halt
31DE7. AufbewahrenGEFAHR! Bewahren Sie den Eis-crusher außerhalb der Reichweite von Kindern auf.• Wickeln Sie das Netzkabel nicht um das Gerät, sonde
32 DE10. Technische DatenTechnische Änderungen vorbehalten.11. GarantieDie Garantie für Ihr Gerät beträgt 3 Jahre ab Kaufdatum. Bei falschem Anschließ
33DE__RP_71511_B5.book Seite 33 Donnerstag, 1. Dezember 2011 7:39 19
__RP_71511_B5.book Seite 34 Donnerstag, 1. Dezember 2011 7:39 19
__RP_71511_B5.book Seite 35 Donnerstag, 1. Dezember 2011 7:39 19
,$1+R\HU+DQGHO*PE+.¾KQHK¸IH'+DPEXUJ6(&$B Ɇ,$153B(LVFUXVKHUB&RYHUB/%LQGG
2ESIndice1. Indicaciones de seguridad...32. Volumen de entrega...
3ES1. Indicaciones de seguridad• Antes de poner en marcha el aparato por primera vez, lea este manual de instruc-ciones detenidamente y, sobre todo,
4ESbién después de haber conectado. el triturador.• Tenga cuidado que el cable de red no pueda ser dañado por cantos vivos o partes calientes. No enro
5ESpueden ser eliminados del mecanismo triturador.• El aparato está dotado de pies de sili-cona antideslizantes. Dado que los muebles están recubiert
6ES1. Active el triturador de hielo con el inte-rruptor de conexión/desconexión 7, y deje marchar el triturador algunos segundos.2. Quite la tapa 1.3.
7ESa reducir el consumo de materias primas y a proteger el medio ambiente. Obtendrá infor-mación sobre la eliminación y la situación del centro de re
Mais documentos para Cozinha Silvercrest SEC 60 A1


Manuais e produtos relacionados com Cozinha Silvercrest SEC 60 A1


 (42 páginas)
 (22 páginas)
 (54 páginas)
(2 páginas)
(2 páginas)
(2 páginas)
(54 páginas)
(2 páginas)
(2 páginas)
(2 páginas)
 (2 páginas)
(86 páginas)
(60 páginas)
(72 páginas)
(2 páginas)
(86 páginas)
(60 páginas)
(72 páginas)
 (104 páginas)
(30 páginas)
(50 páginas)
(38 páginas)
(62 páginas)
(106 páginas)
(104 páginas)
(30 páginas)
(50 páginas)
(38 páginas)
(62 páginas)
(106 páginas)
© 2020, manymanuals-pt.com. Todos os direitos reservados. | 0.047 s |
 Manymanuals.com
 Manymanuals.de
 Manymanuals.fr
 Manymanuals.it
 Manymanuals.pl
 Manymanuals.cz
 Manymanuals.es
 Manymanuals-pt.com
Comentários a estes Manuais